Showing posts with label LuminArte. Show all posts

Thursday, October 9, 2014

Hello FUSION...

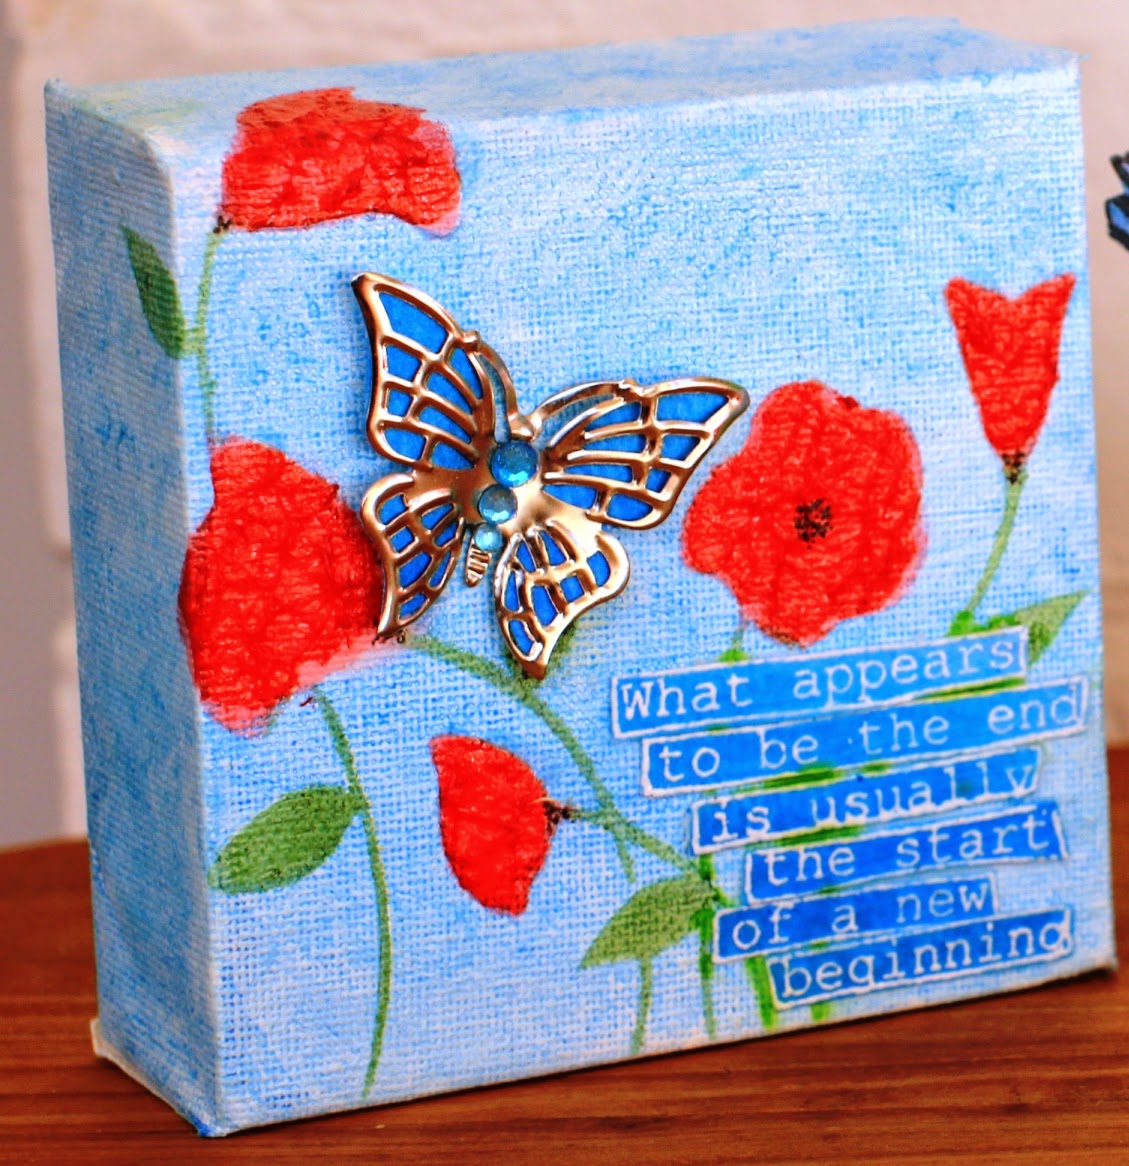
I thought these gorgeous STAMPlorations daisy squares were perfect for this fortnights FUSION inspiration, painted in LuminArte watercolour with added Perfect Pearls for shimmer, cut in Lil Inkers Stitched Squares, backed with hardwood patterned paper and paired with this gorgeous matching STAMPlorations sentiment stamped in Pewter on clear vellum.
How will you be inspired by FUSION this fortnight? The gorgeous colours, textures, and theme, or by this fabulous sketch, or, like me, both!

How to join in the fun...
1. Play with just the sketch challenge.
2. Play with just the inspiration photo challenge.
3. Or you can create FUSION by combining BOTH challenges into one card.
4. Use the challenge graphic and link back to Fusion in your post.
5. Please read the other considerations on the Our Rules Page before playing along.

Can't wait to see how you will be inspired by this fortnight's FUSION!

The Design Team have some FABULOUS creations to inspire you!

Please check the linky for the days left to play with us.

Hope to see you playing along, can't wait to see what you create!

Also playing along with STAMPlorations Stamping and Embossing Challenge, and STAMPlorations Anything Goes.

Tuesday, May 27, 2014

Never too old to get distressed & dirty...


Had the most fun getting distressed and dirty at a Surreal Creations weekend scrap retreat with Ruey, Michelle and Jorja!  

Playing along with One Little Word - Will, with this piece. At the moment I am at a cross-roads, and I need to take a deep breath and summon the will to set a new goal and dream a new dream, and with it find the courage to turn that dream into reality.

Learnt an important lesson creating this mixed media piece - always dry your layers first!  I had forgotten to let the first coat of gel medium dry over my die cuts when I started adding my first layer of colour, and everything kept reacting from there, but in the end it was worth it! This was created using layers of heavy watercolour paper die cuts, colour sprays, gelatos, Twinkling H2O watercolour paints, a chipboard butterfly covered in Metallic Melts embossing powder, Darkroom Door script stamped on the poppies and base layer, Heartfelt Creations dimensional die cut flowers also covered in Metallic Melts embossing powder with gold highlights and this gorgeous Verve sentiment stamped on white tissue paper and adhered with gel medium to make it disappear into the background layer.  

If you're feeling daunted about mixed media, don't be - it's all about experimenting and letting yourself get distressed and dirty LOL!

Tuesday, April 1, 2014

Mixed Media & Happy Crafting...


I took some of these 4x4 canvases away on our crafty retreat and thought I'd have a go at mixed media.

We were lucky enough to have a play with some of Joy's the new Penny Black masks and stamps - and yes, they are as fabulous as you hope they might be! The butterfly canvas is created by applying Gelatos over the primed canvas (they can be primed using Gesso, but these canvases came pre-primed) and blending the Gelato colours with a baby wipe. Using the Penny Black Charming stencil, I gently removed the colour from the stencilled flower and leaf sections, before applying Festive Berries and Mowed Lawn Distress Inks to the flowers and leaves.  When adding a layer of clear embossing paste to the flowers, I discovered that the Distress Inks react to the embossing paste, so I had to be very careful when applying the paste - next time I would use LuminArte or Gelatos, which don't have the same reaction. The sentiment ant butterfly undercolour were created using LuminArte. The Dyan Reaveley sentiment was stamped in Versamark Watermark and Zing White embossing powder, then fussy cut and adhered to the canvas using multimedia paste. The underlayer of the butterfly was adhered to the silver butterfly, and bling added, before adhering with Dimensional Magic.

The little bird canvas is created using one of Jenny's bird stamps, first stamped on watercolour paper with Versamark Watermark just to get an outline of the shape of the bird, then painted in LuminArte and dried before overstamping in Versamark Watermark and Zing Pewter embossing powder. The Dyan Reaveley sentiment was created using the same technique. The background was created using Gelatos, then a second layer of Gelatos mixed with texture paste to create a more textured finish.

Playing along with Virginia's View Stencil Challenge

Retreat photos... all the fabulous ladies who attended:  


Please go and check out their blogs - they're all completely fabulous!!

This made me smile...

Friday, June 29, 2012

Scrapbooker's Paradise Guest Designer...

I'm honored to be the guest designer this week at the Playing in Paradise Challenge hosted by Scrapbooker's Paradise. This weeks Playing in Paradise Challenge prompt is this gorgeous watercolour.
Definitely inspired to go arty with the gorgeous strong colours and the curved lines from the inspiration photo - and as teal would have to be my favourite colour, I painted the sky teal!  Had heaps of fun creating this beautifully sparkly watercolour background using LuminArte paints - similar to the Twinkling H2Os available from Scrapbooker's Paradise. Word stickers are from Crate Paper, with Memory box die cut butterfly and Kaisercraft little pearls.
I hope you join in too...

Thursday, February 2, 2012

Friendship blossoms...


Love the gorgeous cherry blossoms and the tall glass shapes in this weeks inspiration photo from There She Goes combined with this weeks super colour challenge over at Colour Q, and I couldn't go past this fabulous sketch from Less is More

As I think I have more Valentines Day cards then Valentines to send them to, I designed this card as a frienship card - although Love blossoms does have a certain ring to it too :)  Inside reads ...in every season. 

The cherry blossoms are created using Cheery Lyn Cherry Blossom die-cuts, then dabbing a little of Tim Holtz Spun Sugar Distress Ink and some LuminArte Pink Azalea to create the darker centres.  The blossom stamen are created by using a double length of white embroidery thread knotted in the centre then threaded from the top through the centre hole and double-sided taped to the underside of the flower to hold in place - and to secure the blossoms to the page.  The branch is one of My Favourite Things - literally too!!!

Will soon find out how the kiddies went at their first day back at school - hope friendship blossoms for them, and you, too.